Tutorials
Create a custom page
This how-to describes how custom pages can be added to the "Old Animated Books" pack, available on the Unreal Engine Marketplace:
https://www.unrealengine.com/marketplace/old-animated-books
Since update 1 of this pack, the template files changed a little bit. It is now possible to create custom text using mask textures but also by changing the base color texture of each individual page (not covered in this tutorial).
This turorial will show you how to create a custom text mask using photoshop and how the texture paramerters of the page material can be used to create different text apperances.
Old_Anim_Books_Page_Template_Resources_V2.zip
Before we start:
- Create an Unreal Engine Project with the "Old Animated Books" pack added
- You will need Photoshop or a similar graphics software that can handle PSD files (GIMP)
- Download the following template files: Old_Anim_Books_Page_Template_Resources_V2.zip
1. Creating the custom text mask
Download the following template files and extract them to a path of your choice
Open the file called "T_Pages_A_to_D_TextMask.psd"

Now you should see a layout someting like this:
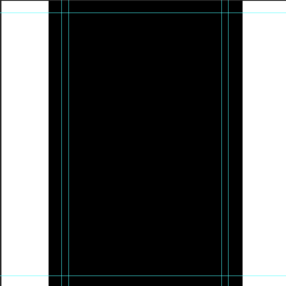
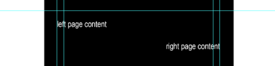
The helper lines are indicating the save area, where you can place your content. If you are creating "left" pages, align your content at the left outer helper line and make sure the content does not overlap the inner right helper line. If you are creating "right" pages its the other way round:
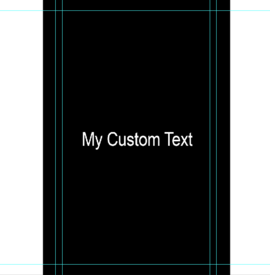
Since the texture we are creating is a text mask, we can only use gray scale colors to create our content. White values will be replaced with the specified text color of our UE4 material. Black values will be transperent. All gray scale values between black and white will be some kind of tranclucent.
Let's write some pure white text to the center of our page:
Now let's export the text mask as PNG.
Click on File->Save As and choose Format: PNG
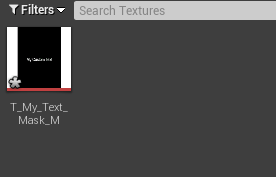
Name it T_My_Text_Mask_M
Click Save
2. Import the text mask to UE4
Open your Unreal 4 project and make sure the "Old Animated Books" pack is installed.
![]()
Navigate to your text mask file created earlier and click open.
3. Create a material instance
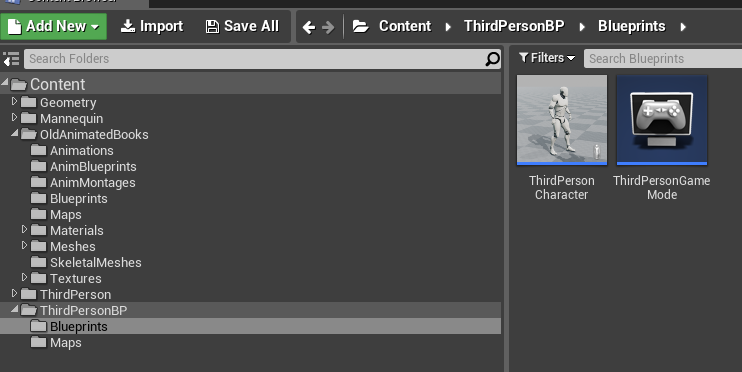
In the Content Browser navigate to OldAnimatedBooks->Materials->Master
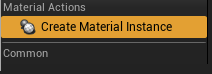
Right click on M_Master_Anim_Book_Pages and choose Create Material Instance
Name it MI_My_Custom_Page or whatever you want
Recommended: Move the newly created material instance to a folder outside of the packs content.
Open MI_My_Custom_Page
In the Details panel activate the checkbox Text
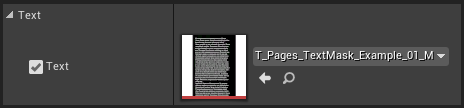
Click on the dropdown and type T_My_Text_Mask_M
press enter
4. Adjust material parameter
Under the parameter group text you can see the following parameters:
- Text_Color
- Text_Intensity (1: Fully Visible, 0: Invisible)
- Text_Metallic (0: no metallic, 1: fully metallic)
- Text_Roughness (0: no change, -1 low roughness glossy, 1 high rougness)
The parameters are almost self-explaining. To use a particular parameter we have to activate its checkbox
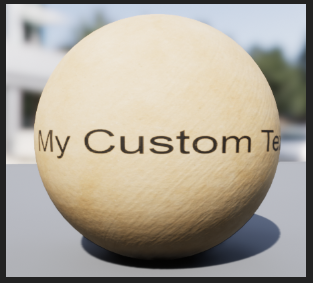
We want to create some golden letters:
- Click on Text Color and choose some kind of orange/yellowish color
- Choose a Text_Metallic value of 1
- Choose a Text_Roughness value of -1
Your text should now look something like this:

5. Assigning the custom page
To keep it easy we will now exchange the default material of the skeletal mesh SK_Anim_Book_01
I recommend to change the material on the respective actor on your map or to duplicate the skeletal mesh.
In the Content Browser navigate to OldAnimBooks->SkeletalMeshes
Open SK_Anim_Book_01 and go to the "Mesh" Tab

There are 6 materials.
Element 1 to 4 are the page materials
We will assign our custom page to Element 1 (Page A)
Click on the dropdown of Element 1 and type MI_My_Custom_Page
Press enter
Done!
We can now preview some opening animations and see what our custom page looks like!
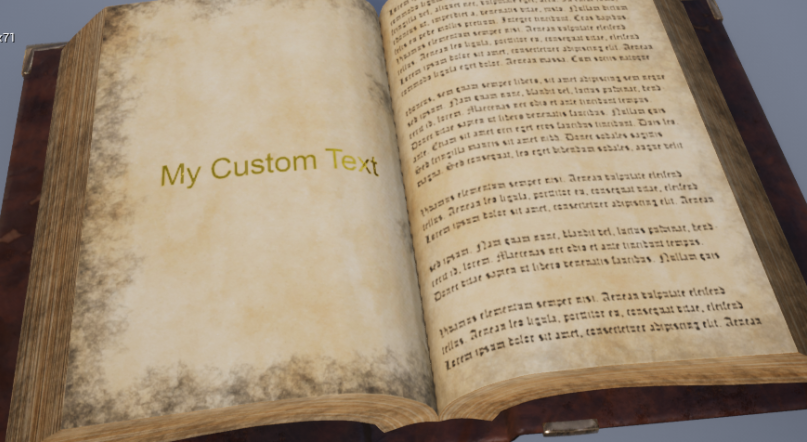
P.S: We have just created a "Left" Page
Interaction with the multi page turn actor
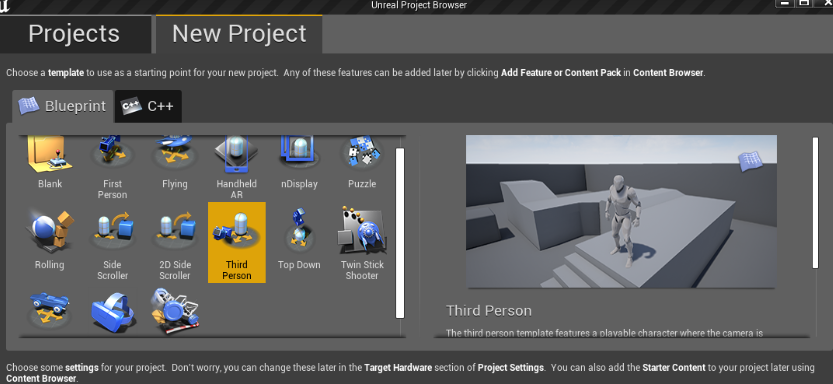
Create a Third Person Template Project
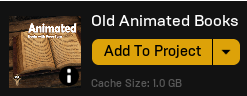
Add Old Animated Books to your Project
- Start the Epic Games Launcher
- Select Unreal Engine
- Select Library
- Select Add to Project
- Select your newly created project
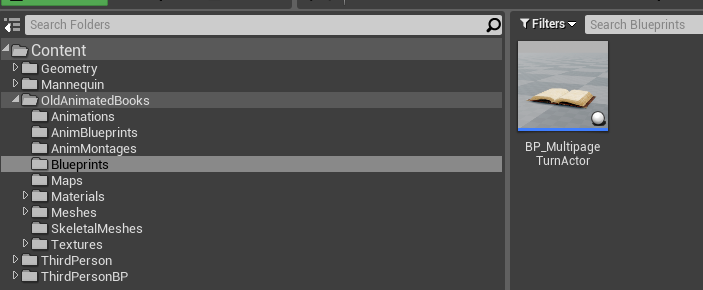
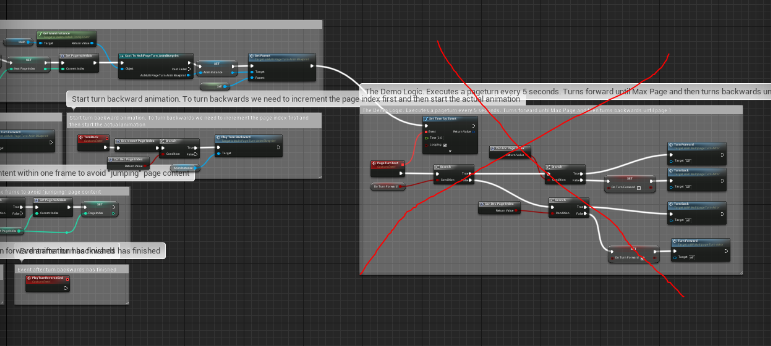
Modify the "BP_MultipageTurnActor"
You may also duplicate the actor instead of modifying it, but this will require also to duplicate the AnimBluePrint and adjusting all the casts and references. For simplicity we will modify the existing actor:
- Open the MultipageturnActor

- Remove the auto page turning logic:

- Add the following Nodes:

Add Two Custom Events- TurnForwardPublic for accessing the turn forward logic outside (with our third person character)
- TurnBackPublic for accessing the turn back loogic from outside (with our third person character)
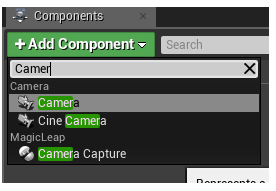
- Add a camera to the view port of the actor and name it "camera"

Place the camera as follows:

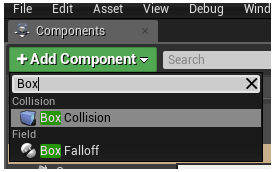
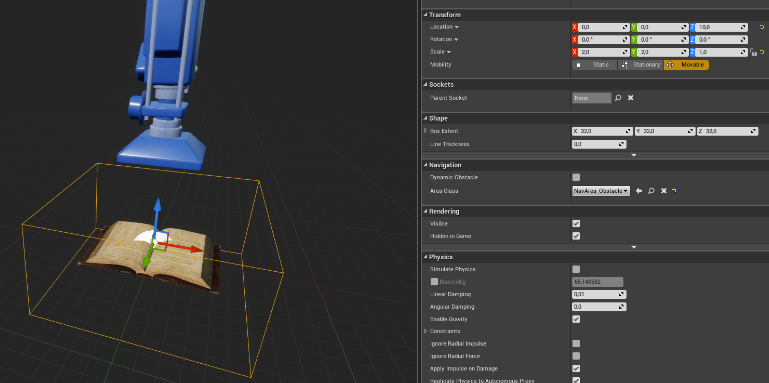
- Add a Box Collision to the Viewport

Place the Box collision as follows:

- Save and Compile


Modify the Third Person Character
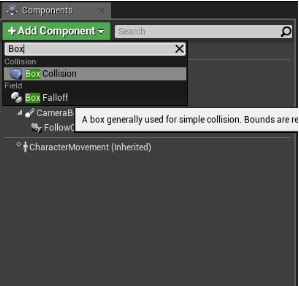
- Add a Box Component to the Third Person Character:

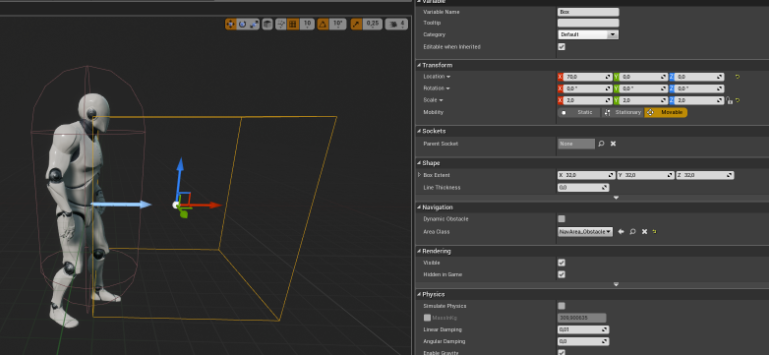
- Place the Box like this:

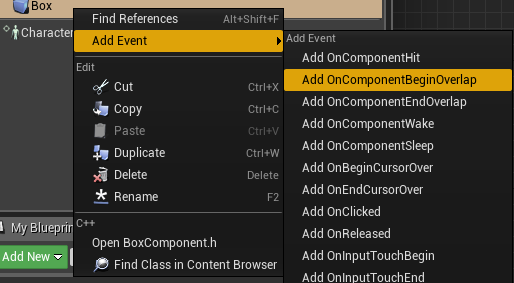
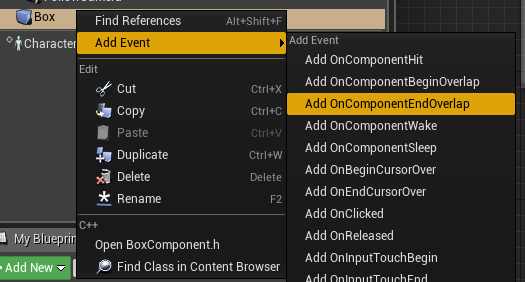
- Add Overlapping Events

One for Begin Overlap

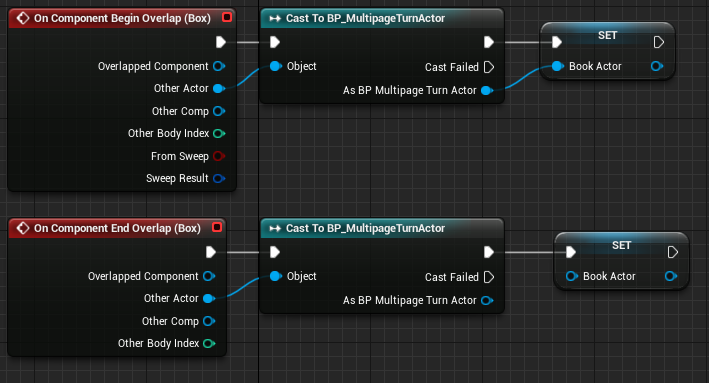
One for End Overlap - Create the following overlap logic

- We will start Interaction with the book by pressing "E", then we will listen to the inputs of "Z" and "X" to Control the page turning once we are interacting with the book
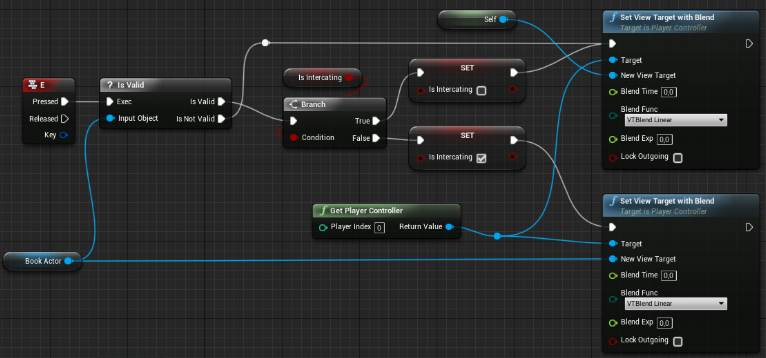
For the E Key create the following Logic:

This will handle the interaction and switches the camera when interacting.
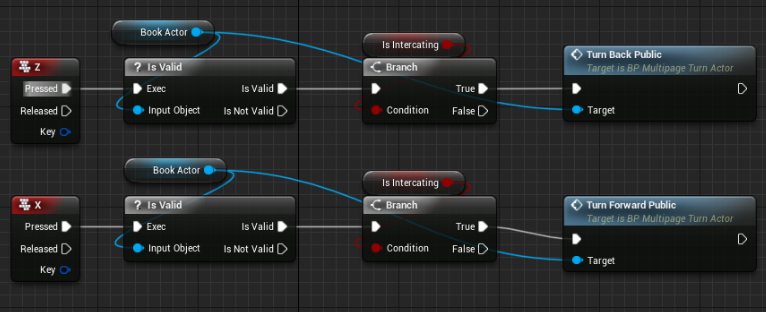
For the Z and X Key create the following logic:
- Compile and Save
Place the Book and Play Test
Place the BP_MultipageTurnActor something like this and hit Play
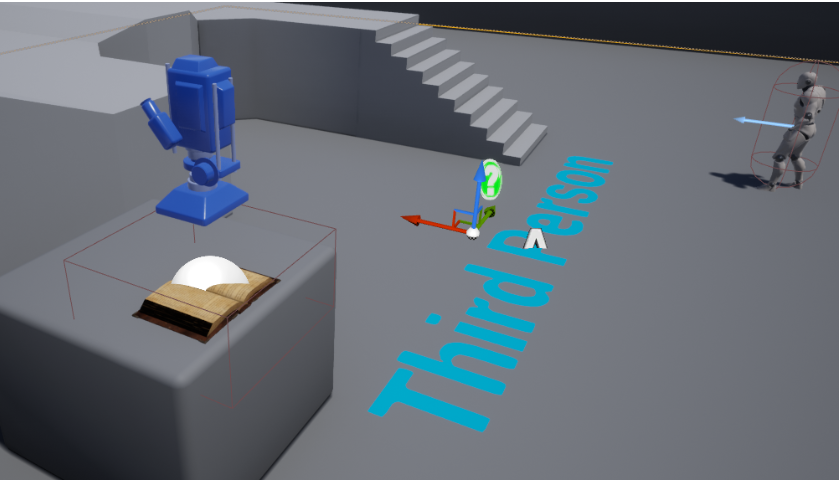
Result: